Inserting an image into a page
Types and sizes
Format: gif, png, jpg, and jpeg are the image extensions allowed for upload.*
Image size: File uploads are limited to 3mb per image with a resolution of 1920x1080.*
Quota: Each member may have up to 300mb of files uploaded into their directory.*
*These settings can be changed. If you need a higher size limitation or additional file formats, please let us know. Any requests will be considered.
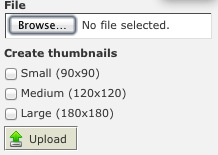
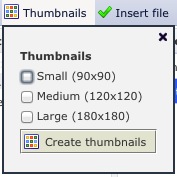
Thumbnails can be created upon upload. The sizes are:
- Small: 90x90
- Medium: 120x120
- Large: 180x180
Instructions
This site runs on Drupal and we're using the IMCE module to enable members to upload pictures. The process is fairly simple, but there are some extra options we'll note below.
- Open a view you would like to insert an image into.
- Click on the image insert icon
 in the editing window.
* If you have any pop-up blockers running on your browser, you may need to disable or make an allowance for our site.
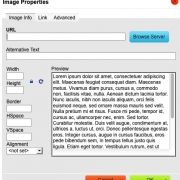
- The image properties window will open. Click the blue Browser Server button.
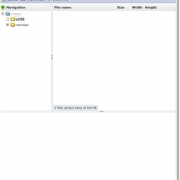
- The IMCE file browser window will open.
- Click the upload button.

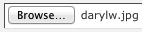
- This will open the file browser window. Click the Browse button to select your image.
- This will open a file upload window on your computer. Navigate to the image, click to select, and click Open.
* Please note you are only able to upload gif, png, jpg and jpeg files.
- The file will appear in the browser window
 . At this point, you can create up to three thumbnail sizes by selecting your preferred sizes.
- Each thumbnail wil be squared with extra getting cropped.
- If the image is taller than it is wide, the bottom extra will be cut off.
- If the image is wider than it is tall, the sides will be cropped.
- If these crops don't work, you may need to create smaller thumbnails and upload them individually.
- You can also create thumbnails after the image is uploaded by selecting an image and clicking the thumbnail button in the file browser.
- Click the upload button. An announcement your image has uploaded will briefly appear on your screen. The file will appear selected in the file browser window.
* The file browser window may remain. Click the X in the top corner to close and access your file.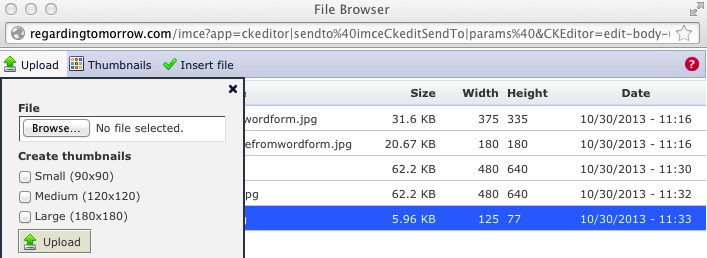
- Click Insert File
 , which will close the file browser window and return you to the image properties file.
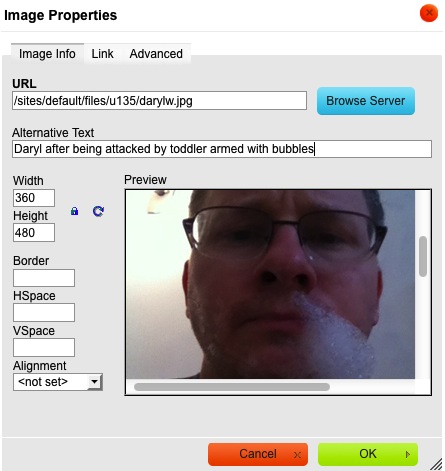
- Options:
- Please make certain you enter an alternative text for every image. This is very important for screen readers if someone with vision issues visits our site.
- You can change the height and width, add a border, add horizontal or vertical space around the image and set the alignment.
- You may link to another site. If you do so, please set the target to a New Window (_blank). Thanks.
- When you are finished with selection and settings, click the OK button
 .
.